
Olympus Microscope BX51 Bulb Replacement
Read the Edited Video Transcript for ‘Olympus Microscope BX51 Bulb Replacement’
Hi, this is Walker Kelly with Munday Scientific Instrument Service. Today, Chad and I are going to show you how to change the bulb in your Olympus BX50 or BX51 microscope.
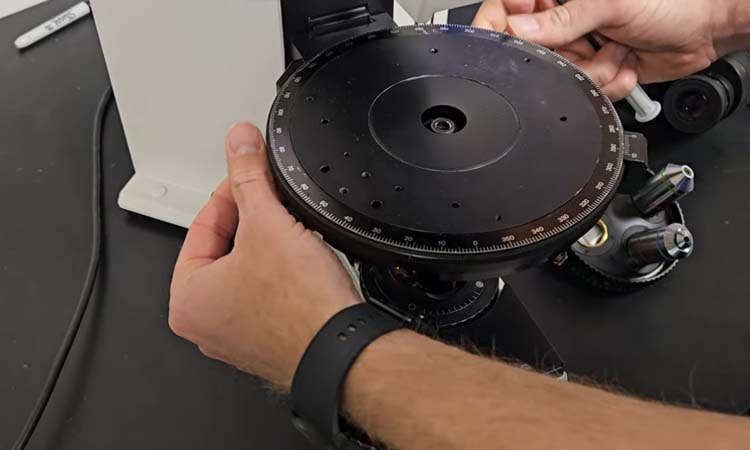
We’ll walk you through removing the lamp house, replacing the bulb, and reinstalling everything when you’re finished.
Removing the Lamp House
Start by removing the 3 mm Allen wrench from the upper-right side of the microscope.
Insert the wrench into the lamp house retaining screw and loosen it a few turns. Once the screw is loose, carefully slide the lamp house off the microscope.
Turn the microscope around and locate the silver electrical connector on the back. You’ll notice that it has a spring-loaded collar.
Give the collar a quick twist and pull the connector straight out to disconnect the lamp house.
Opening the Lamp House
Now that the lamp house has been removed and disconnected, you’re ready to access the bulb.
Using the same 3 mm Allen wrench, loosen the small screw located on top of the lamp house.
After loosening the screw a few turns, slide the lamp house cover off to expose the bulb and socket.
Removing the Old Bulb
Before handling the bulb, get a Kimwipe or similar clean, lint-free tissue.
It’s important to avoid touching the glass of the bulb with your bare fingers. Oils from your skin can contaminate the glass and potentially shorten the life of the bulb.
Inside the lamp house, you’ll see two spring-loaded bronze levers that hold the bulb in place.
Press both levers downward with gentle pressure. While holding them down, grasp the bulb with the Kimwipe and carefully pull it straight up and out of the socket.
Installing the New Bulb
For this microscope, we’re installing an Osram 12V 100W bulb.
Carefully open the bulb’s packaging without touching the glass.
The protective plastic wrapping can be used to hold the bulb during installation, which helps prevent oils from your fingers from getting onto the glass.
Press down on the two bronze spring-loaded contacts and carefully slide the new bulb into position.
Once the bulb is securely seated, release the contacts to lock it into place. You can then remove the protective plastic wrapping.
Reinstalling the Lamp House Cover
Once the new bulb is installed, slide the lamp house cover back into position.
Using the 3 mm Allen wrench, tighten the retaining screw until it is snug.
There’s no need to overtighten the screw.
Reinstalling the Lamp House
Reinstall the lamp house by reversing the steps used to remove it.
Reconnect the spring-loaded electrical connector on the back of the microscope, then slide the lamp house back into position.
Secure the lamp house using the 3 mm Allen wrench.
Your microscope is now ready to use.
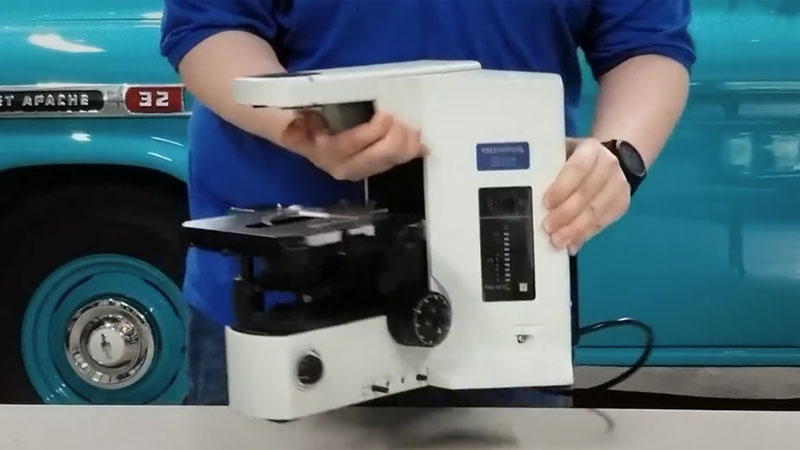
Final Thoughts
That’s how to change the bulb on an Olympus BX50 or BX51 microscope.
The most important thing to remember when installing the new bulb is to avoid touching the glass with your bare fingers. Using the original protective packaging or a Kimwipe makes installation easy while keeping the bulb clean.
Closing
Thank you very much for watching! If you have any questions about changing your microscope bulb or have any other microscope-related inquiries, please feel free to contact Munday Scientific Instrument Service.
Online Shop: microscopemarketplace.com
For more videos, subscribe to our Youtube Channel.
Have a great day!