
Mastering the Basics: Nikon Ci-L
Read the Edited Video Transcript for ‘Mastering the Basics: Nikon Ci-L’
Hey, this is Chad with Munday Scientific. Today, we’re going to talk about the Nikon Ci-L microscope.
The Nikon Ci-L is a great option for clinical laboratory applications. This particular microscope is equipped with a tilting and telescoping head, which allows the viewing angle and eyepiece position to be adjusted for better ergonomics.
We’re going to go over some of the microscope’s features, then disassemble and reassemble it to show you the major components.
Tilting and Telescoping Head
This microscope is equipped with an ergonomic head that can be tilted up and down and extended forward or backward to provide a comfortable viewing position.
There’s also a camera port on the back of the head. An accessory can be added to split the light and connect a camera to the microscope.
We’ll include information about the appropriate camera accessory in the video description if you’re interested in adding a camera to this configuration.
Condenser and Application Options
This particular Nikon Ci-L is configured for phase contrast, but the microscope can be equipped with different condensers depending on your application.
For example, you can install:
- A phase contrast condenser
- A standard Abbe condenser
- A swing-out condenser for low-magnification applications
For pathology applications, a swing-out condenser allows you to use lower-magnification objectives such as 1x or 2x while properly illuminating the field.
10x Widefield Eyepieces
This microscope has 10x eyepieces with a 22 mm field of view.
Both eyepieces are focusable and lock into the microscope head using small locating notches.
To install an eyepiece, slide it into the head and rotate it until you feel it click into position. Once it clicks into place, you’ll know it’s properly seated.
You can then use the built-in diopter adjustment on each eyepiece to fine-tune the focus for your eyes.
Removing the Microscope Head
To remove the head, locate the knurled retaining screw on the right side of the microscope.
Loosen the screw while supporting the head, then carefully lift the head from the microscope and set it aside.
The Nikon Ci-L can accommodate several different head configurations depending on your application, including:
- A fixed binocular head
- A tilting and telescoping head
- A trinocular head
Removing the Nosepiece
Before removing the nosepiece, lower the stage to provide plenty of clearance between the objectives and stage.
This reduces the chance of accidentally hitting or damaging an objective during removal.
You’ll need a 2 mm Allen wrench.
Locate the access hole for the nosepiece retaining screw and insert the Allen wrench. Loosen the screw, then carefully pull the nosepiece outward and lower it from the microscope.
The Nikon nosepiece uses a locating notch that needs to be properly aligned when reinstalling it.
When putting the nosepiece back on, position it approximately in the center of the mounting notch and make sure it seats correctly before tightening the retaining screw.
Removing the Stage
This microscope is equipped with a right-handed mechanical stage, but the Nikon Ci-L can also be configured with a left-handed stage.
The current stage has a single-slide holder, but other options are available, including:
- A single-slide holder
- A dual-slide holder
- A fixed stage
A fixed stage can be particularly useful for pathologists who prefer to move the slide manually with their fingers.
Once the nosepiece is safely out of the way, the stage can be removed from the microscope.
Removing the Condenser
With the stage removed, we can access the condenser.
Lower the condenser using the substage adjustment.
Locate the condenser retaining screw and use the 2 mm Allen wrench to loosen it.
Once the screw is loose, the condenser slides out of the substage assembly.
This is also how you would remove the existing condenser if you wanted to change the microscope from phase contrast to another configuration.
Light Intensity and Field Diaphragm
The microscope has a light intensity control that allows you to increase or decrease the illumination as needed.
It also has a field diaphragm, which is used when setting Köhler illumination.
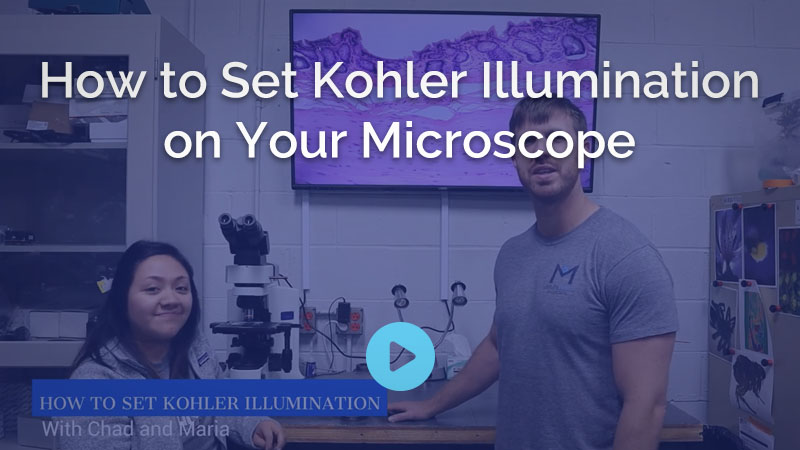
These controls allow you to properly configure the illumination for your specimen and objective.
Magnetic Focus Knobs
One feature of the Nikon Ci-L that sometimes causes confusion is the removable focus knobs.
These knobs are magnetically attached.
During shipping or unpacking, one of the knobs may come off. If that happens, don’t assume that something has broken.
The knob has locating features that correspond with the mounting bracket. Simply align the knob correctly and allow the magnet to pull it back into position.
This design is used on both sides of the microscope.
Moving the Extended Focus Knob
The magnetic design also makes it very easy to change which side has the extended focus control.
For example, if you change from a right-handed stage to a left-handed stage and want the extended focus knob on the opposite side, simply remove the magnetic knobs and swap their positions.
Align the locating features and snap each knob back into place.
It’s a very simple and convenient design.
Reinstalling the Condenser
Now we’ll put the microscope back together.
Start by lowering the substage assembly to provide enough working room.
The condenser has a locating pin that corresponds with a notch in the condenser mount.
Slide the condenser into the mount and rotate it until you feel the locating pin properly seat into the notch.
Once it’s fully seated and correctly oriented, tighten the retaining screw.
Reinstalling the Stage
Next, reinstall the mechanical stage.
Position it correctly on the microscope and secure it in place.
Before continuing, make sure the stage operates smoothly and has adequate clearance for the objectives.
Reinstalling the Nosepiece
Next, reinstall the nosepiece.
Align it with the mounting notch and slide it into position. Make sure it is properly centered and fully seated before tightening the retaining screw with the 2 mm Allen wrench.
Once secured, verify that the nosepiece rotates properly and that the objectives have adequate clearance above the stage.
Reinstalling the Microscope Head
Finally, reinstall the tilting and telescoping head.
Seat the head properly on the microscope while supporting it with one hand, then tighten the knurled retaining screw.
Once everything is secure, the microscope is assembled and ready to use.
Final Thoughts
The Nikon Ci-L is a versatile clinical laboratory microscope that can be configured for a wide variety of applications.
Depending on your needs, it can accommodate different viewing heads, camera configurations, right- or left-handed stages, fixed stages, phase contrast, standard brightfield condensers, and low-magnification pathology configurations.
Its tilting and telescoping head and easily repositioned focus controls also provide excellent ergonomic flexibility.
Contact Information
If you have any questions about the Nikon Ci-L or other microscope equipment, contact Munday Scientific.
Subscribe to videos: Youtube Channel
Online Shop: microscopemarketplace.com
We look forward to hearing from you. Thanks for watching!